I am not a domestic goddess. Not even close. So, if I can do it, trust me when I say anyone can use these tips to organize your house with a label maker.
The disorganization in our house is driving me crazy lately.
The two things that have been driving me the most crazy: my disorganized taxes and my huge bin of electronics chargers.
I’ve definitely not the first person to jump up and start organization tasks – it’s just not my jam. Now admittedly, I do have a love of all back to school supplies that can’t really be explained logically. That said, I was having trouble finding things, and never knew where to put things, so I decided to finally tackle the disorganization.
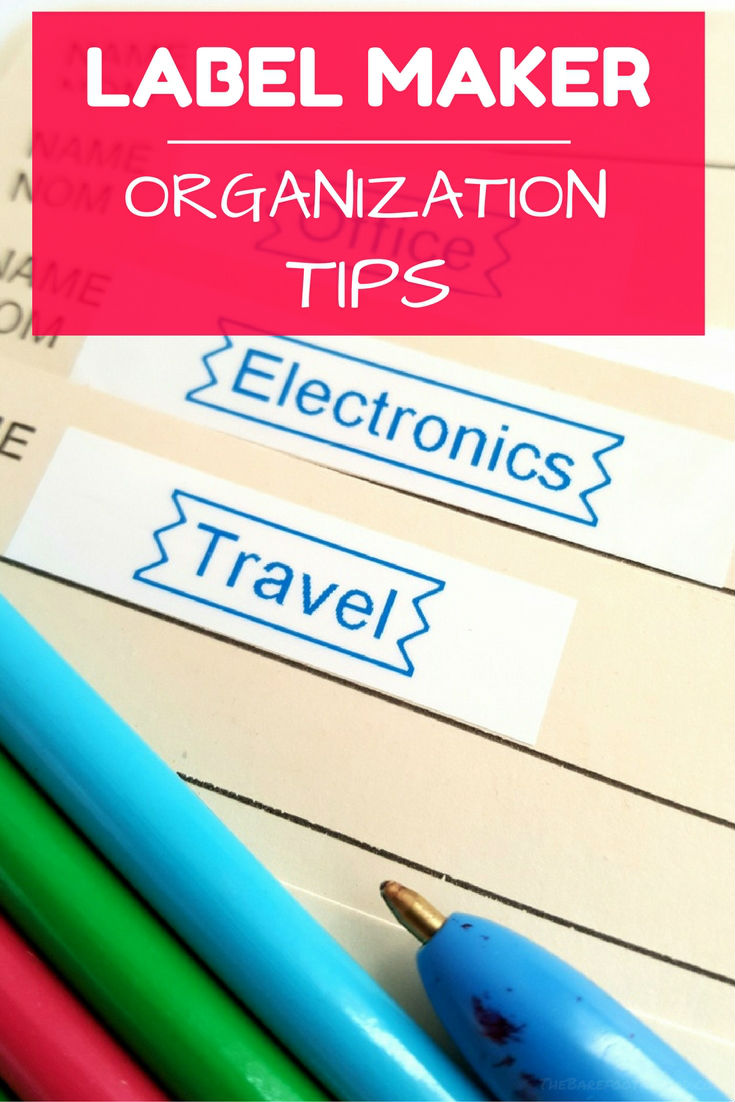
How to Organize Your House with a Label Maker
First up, I’m going to share with you how label maker organization tips have helped me tackle my yearly taxes (yay!) and my mess of unorganized electronics chargers.
Taming the electronics drawer
First, taming our electronics drawer.
You probably have one of these: a drawer (or box) stuffed with miscellaneous electronics like camera battery chargers, phone chargers, travel power adapters, USB adapters, HDMI cables, and the like.
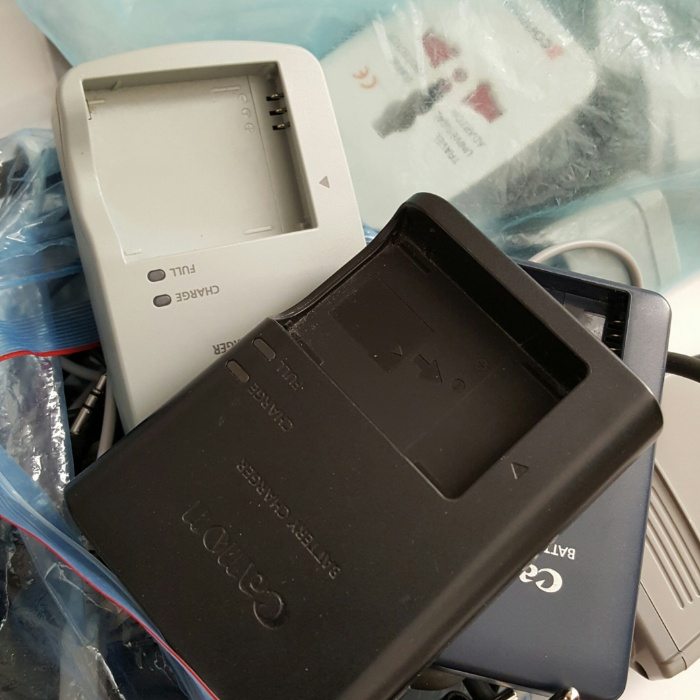
The problem with our electronics drawer is that most of the time I have no idea what the chargers are for. It’s especially frustrating for camera chargers.
I have three Canon cameras, all with very similar looking batteries, and all with a different charger. Every time I go to charge my camera battery, I pull out all three chargers, and have to try to figure out which charges which camera.
It drives me crazy! Time to break out my pretty new label maker and get organized!
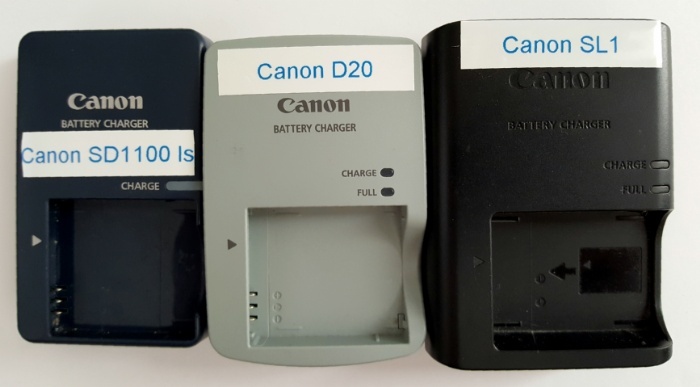
This is so much better! The label maker made it so easy to know which charger belongs to which camera!
Now, I can just reach into my electronics drawer, and pull out the right charger in a second. This trick works perfectly for cell phone chargers, cables, Nintendo DS chargers, and so on.
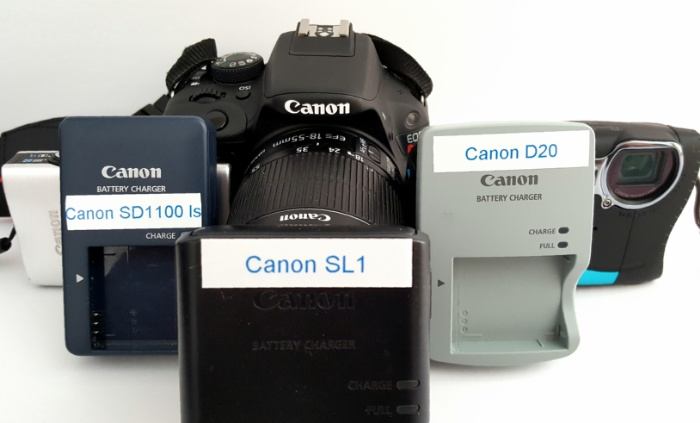
Tax time!
Flushed with my success taming our electronic drawer, I moved onto bigger fish: taming our tax folders!
I run my own business, so that means … (insert ominous music) … taxes. And it also means a lot of paperwork and receipts to organize for taxes.
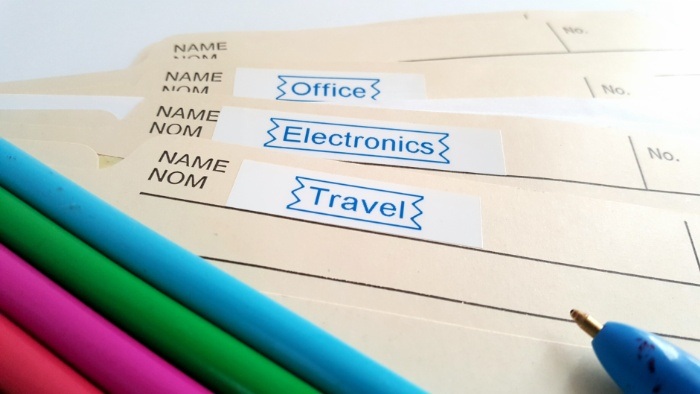
Using label maker was a huge help organizing my receipts for tax filing this year! And honestly, I enlisted the kids to help out with labeling, and that injected a bit of fun into the process.
What label maker did I use?
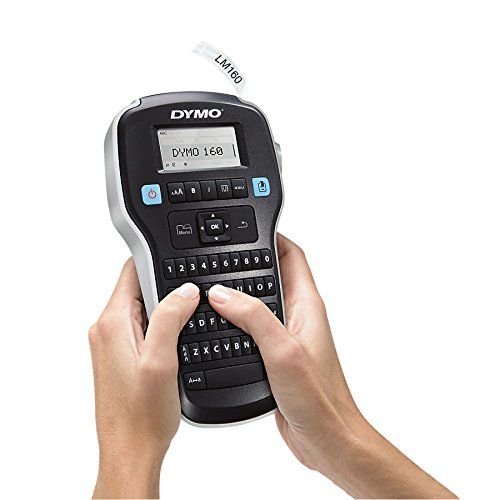
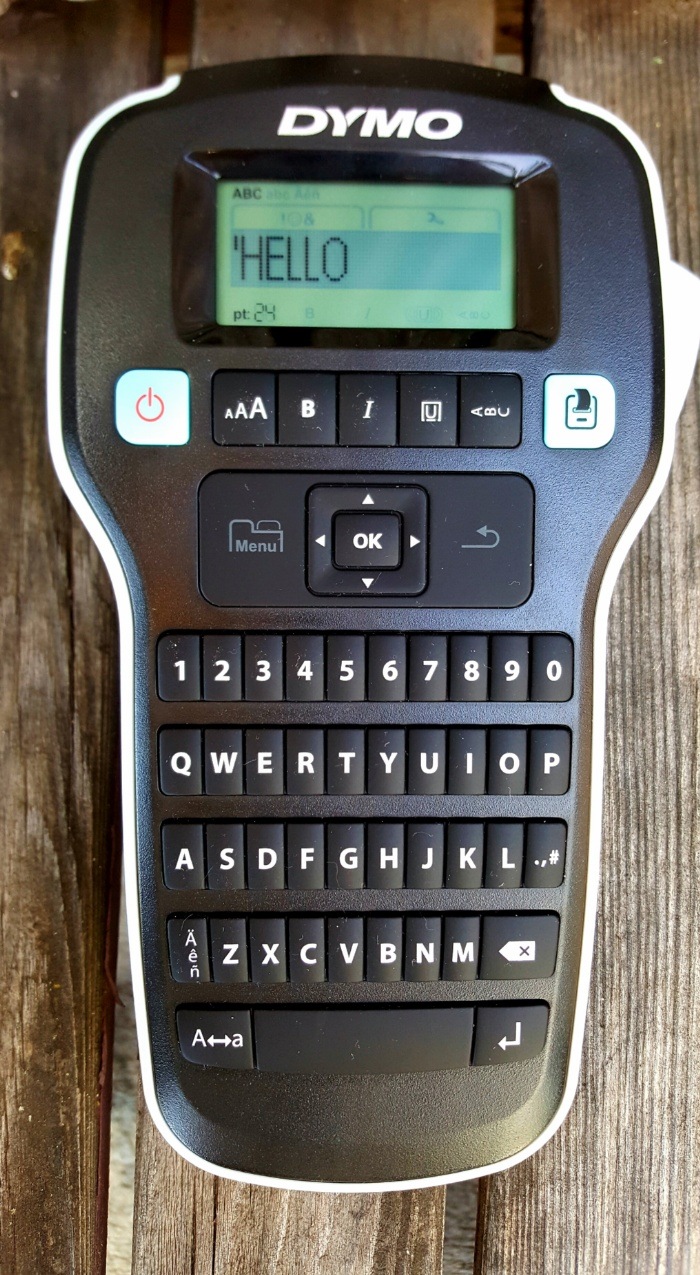
I used the DYMO LabelManager 160P, because it was affordable, and got good ratings.
Click over to Amazon here to see the DYMO label maker ratings and price.
The kids found the DYMO® LabelManager™ 160P Label Maker so easy to use. They loved being able to add symbols (there are over 200 to choose from), change the font size, and add borders. You can even buy different label packs with different colors (we have black and blue).
The label maker also offers eight text styles, and it’s light, compact and portable. That makes it easy to carry around the home or office.
See the DYMO LabelManager 160P on Amazon here now.


